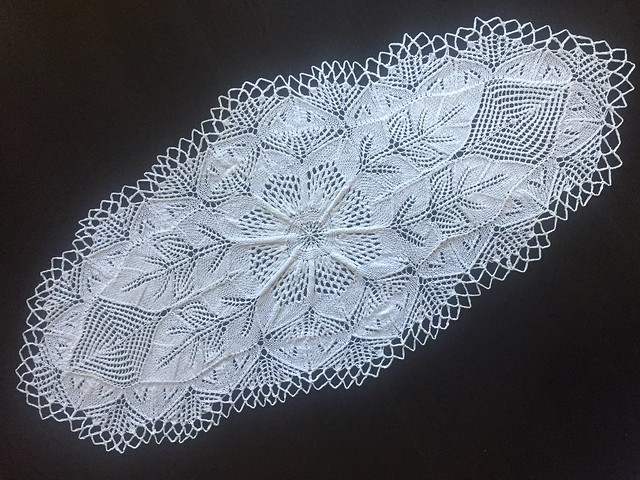
And I say first one, because I'm going to likely make more. Yes, they're challenging and fiddly, but as a process knitter, theses are the things I kind of like about knitting. Seeing the symmetry inherent in the pattern gives a certain satisfaction. And observing how the squares and symbols on a lace chart translate into leaves and petals makes me want to keep going to see what happens next. Then, of course, there's the challenge of keeping all the balls in the air as it grows and grows. The first round of this project, started in the middle, had 8 live stitches. By the time I got to the cast off, there were nearly 500.
Here's a walk through how this thing is constructed. Starting at the pinhole cast on in the center, the central flower is eight repeats of the same motif knit in the round, creating the petals, with slight variations on opposite sides to set up the oval extensions. Those sections are knit flat (purling on the back side) out to the ends. Then, stitches are picked up around the oval extensions along with the remaining live stitches from the sides of the central flower. A 20-round pattern repeated 16 times around the whole doily created the leaf points and lace edging.
Then, all that's left is the crocheted points around the outside. The first round serves to bind off the edges of the knitting and create little loops. The second round builds on those, plus pulls the ones opposite the leaf points together. I was intimidated by this part because my crochet fu is not strong, but I think I managed. It was a little tricky to figure out how do the attaching, but I just picked a method and stuck with it. I found myself really wishing my crochet skills were stronger as I finished this up.
I completed the crochet edging yesterday afternoon and went online to find out some blocking options. One was to mix some liquid starch and soak the whole thing, but the video examples I saw led me to believe that it would end up too stiff. I wanted it to have some structure, but I didn't want it stiff as a board, either. I decided to go a bit simpler. I soaked it in warm water (which left the water strangely murky -- this is just cotton, what was up with that?) then placed it flat on a towel draped over my blocking board. Then I got out the regular can of spray starch that I use when I iron shirts (ahem, which isn't often) and went to town. I pinned out all the outer loops to make points. This part was fairly tedious. Not sure I did the tidiest job, but it looks pretty good overall.
In the original design, the central flower, a few rows in the middle and the crochet loop points were all done in a black yarn (see below). Couldn't quite see the point in that -- I thought it looked a bit odd. But tastes change. Consider that one of the staging shots for one of the patterns in the book features an ashtray with a lit cigarette resting on a doily. Not something you'd likely see in a pattern book today!
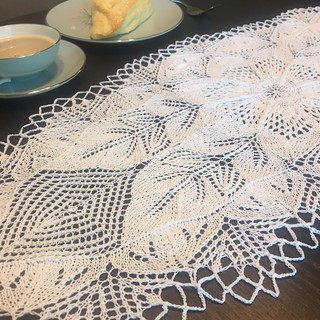
I enjoyed this project way more than I had anticipated. I was surprised by the sense of dimension in the finished object. The way that the fields of stitches and lacy holes ran in different directions created textures and shading that I hadn't imagined. I'd always though of lace as being very two dimensional, but it doesn't have to be. I was so impressed at the thought and care that Niebling put into this design so that everything lined up and worked together just so. I want to knit more!


